As an Amazon Associate I earn from qualifying purchases. Links marked "at Amazon" are paid links.
How to wash a car in a driveway without swirl marks
 By Chris Y. · Founder & editor
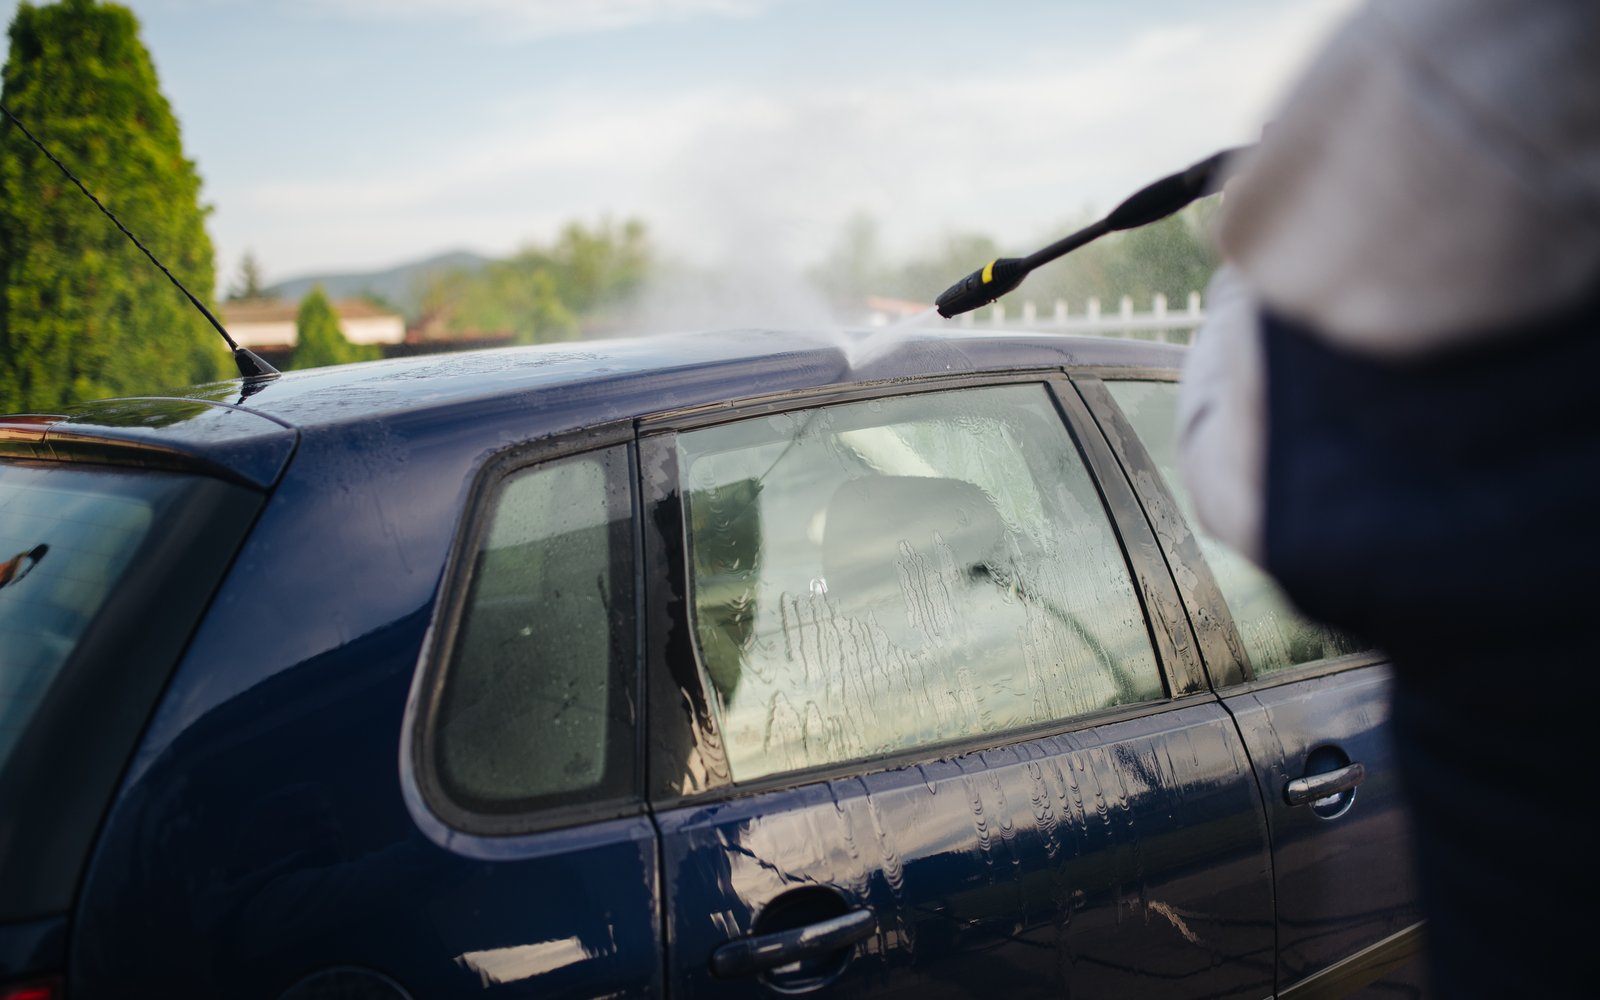
Stand next to a black car in direct sun and you will see them: fine circular scratches that look like a spider web around every reflection. Those are swirl marks, and almost all of them were installed by a well-meaning owner with one bucket, a sponge and a bath towel.
The fix is not an expensive product. It is a sequence: wheels first, rinse, foam or pre-soak, two buckets with a grit screen, straight-line strokes, top-down, rinse again, dry immediately. That routine takes about 45 minutes on a sedan and it is the single biggest difference between a car that looks five years old and one that looks fifteen.
This is the routine The Wash Bay is built around: a driveway, a garden hose, no pressure washer and no heated bay. Where a product matters there is a link to the guide that covers it, but the sequence below works with whatever soap and mitt you already own.
Questions people ask
How often should I wash my car?
Every two weeks is the practical answer for a daily driver, and weekly if the car sits under trees or near salt. The damaging stuff — bird droppings, sap, brake dust, road salt — etches paint in days, not months, so frequency matters more than technique for long-term condition.
Do I need a pressure washer to wash a car properly?
No. A garden hose does everything in this routine except make thick foam. The pressure washer buys you a better pre-soak and a faster rinse; the two-bucket wash and the drying step, which are what actually prevent swirls, are identical either way.
Is the two-bucket method really necessary?
It is the single highest-value change you can make, and it costs the price of a second bucket and a 12-inch grit screen. Without it, every stroke after the first one puts the dirt you just removed back onto the paint.
What temperature is too hot to wash?
If you cannot hold your palm flat on the hood for five seconds, the panel will flash-dry soap and water before you can rinse it. Wash before about 9am or after 6pm in summer, or park in shade and work one panel at a time.
Can I fix swirl marks I already have?
Yes, but not with soap. Existing swirls need machine polishing to level the clear coat around them, which removes a few microns of material and can be done a limited number of times in a car's life. That is why prevention is worth this much attention.
Waterless or rinseless washing — are those safe?
Rinseless washing is safe on a lightly dusty car with plenty of clean media and no grit; waterless spray on a genuinely dirty car is how swirls happen fast. Use them between washes, not instead of them, and never on a car that has been through winter salt.
What a swirl mark actually is
Car paint is color coat under a layer of clear coat, and the clear coat is softer than people assume — soft enough that a grain of sand dragged across it under a few pounds of hand pressure cuts a groove. Look at a swirl under a light and it is not a stain or a haze; it is thousands of tiny trenches, each scattering light in a different direction.
Three things cut those trenches: grit that was on the car and got dragged, grit that came back out of your wash water, and the wrong tool. A sponge is the worst offender because its closed cells hold a particle against the paint instead of letting it fall away. A dropped mitt that is picked up and used again is the second. Drying with a household towel is the third.
That means a swirl-free wash is mostly a logistics problem: keep abrasive material away from the paint, and when some inevitably gets onto the mitt, give it somewhere to go that is not the next panel.
What you need before you start
- Three buckets. One with soap, one with clean rinse water and a grit screen, and one that never touches paint, for wheels. Buckets are the cheapest part of the whole setup.
- A grit screen in the rinse bucket, so what you rinse off the mitt stays under the grid. This is the item that makes the two-bucket method work rather than just look organized.
- A pH-balanced car shampoo — not dish soap, which strips wax and sealant along with the road film.
- Two microfiber mitts, one for the top two thirds of the car and one for the lower panels where the coarse grit lives.
- A large drying towel, 900 gsm and around 20 × 30 inches, so a full door dries in one pass.
- A wheel cleaner you can spray on and hose off, so brake dust never gets scrubbed around by hand.
If you are buying from scratch, the best car wash kit for beginners guide covers exactly these six items, including what I would spend money on and what I would not.
The order of operations
Order matters more than product choice. Every step below exists to stop dirt from an earlier step reaching a later one.
1. Park in the shade and let the car cool
Hot paint flashes water dry in seconds and turns every droplet into a mineral spot. If the panel is too hot to rest your palm on, wait, or wash in the early morning. In summer I wash before 9am or after 6pm, and never in direct sun.
2. Wheels and tires first, with their own bucket and brush
Brake dust is iron. It is the most abrasive material on the car, and if you do wheels last you will have splashed it onto clean paint. Spray a dedicated wheel cleaner, let it dwell for the time the bottle specifies, agitate with a wheel-only brush, and rinse. Then rinse the arch and the lower panel above it.
3. Pre-rinse the whole car, top to bottom
A plain hose rinse removes the loose layer — dust, pollen, most of the salt — before anything touches the paint. Work from the roof down so you are never pushing dirt back over a clean area. Give the front bumper, the lower doors and the rear hatch extra time; those hold the most.
4. Foam or pre-soak, and let it dwell
A foam gun on a garden hose does not produce the thick shaving-foam layer you see in videos, but it does the useful part: it wets and lifts the bonded film so the mitt has less work to do. Two to three minutes of dwell, then rinse it off. If you have no foam gun, a bucket of soapy water poured over each panel does the same job less elegantly.
5. Wash with two buckets, top down, in straight lines
This is the core of it, and it has its own section below.
6. Final rinse, sheeting rather than spraying
Take the nozzle off the hose and let water flow over the panels in a sheet from the top edge. Surface tension pulls most of the water off the car with it, and every ounce that leaves this way is an ounce you do not have to dry off by hand.
7. Dry immediately
Water spots are minerals left behind when a droplet evaporates. The clock starts the moment you stop rinsing, and in sun you have minutes.
The two-bucket method, step by step
- Fill the wash bucket with the shampoo dose the bottle specifies and the hose on full force, so it foams as it fills. Fill the rinse bucket with plain water and drop the grit screen in.
- Load the mitt from the wash bucket. Wash one panel only — half a roof, one door, one fender. Straight lines, front to back, never circles. Circles are literally how circular scratches get their shape.
- Put the mitt into the rinse bucket. Push it against the grit screen three or four times. You will feel grit release; that grit falls under the screen and stays there.
- Squeeze the mitt out, reload from the wash bucket, and move to the next panel.
- Work top down: roof, glass, hood and trunk, upper doors, then the lower third of the car last with the second mitt.
- If you drop a mitt on the ground, it is done for the day. Not rinsed and reused — done. A dropped mitt carries driveway grit that no rinse bucket will fully release.
Two details make the difference between doing this and doing this well. The first is pressure: let the soap and the pile of the mitt do the work, and use no more force than the weight of your hand. Anything that needs scrubbing — tar, bug remains, sap — is a job for a dedicated remover, not for more pressure. The second is direction: front-to-back straight passes mean that any mark you do put in will be far less visible than a circular one, because it runs the same way the light does when the car moves.
Drying without putting the marks back
More paint damage happens in the drying step than in the wash, because people finish the careful part and then reach for whatever is in the garage. Three rules:
- Use a real drying towel. A 900 gsm twist-loop microfiber at 20 × 30 inches takes a whole door in one pull. A bath towel pushes water around and drags anything the rinse missed.
- Pat and pull, do not scrub. Lay the towel flat, pull it toward you, lift, move on. No pressure, no back-and-forth.
- Do the glass and mirrors first, then panels top-down, then the lower third and the door jambs with a second, smaller towel. Jambs and sills are filthy; they get the towel you are willing to retire.
A leaf blower or a dedicated car dryer removes most of the water with nothing touching the paint at all, and it is the one upgrade I would make before buying any more chemicals. Without one, the sheeting rinse in step 6 is what keeps the drying step short.
Mistakes that cause swirls, in order of how common they are
- One bucket. Every stroke after the first reloads the mitt with what you just removed.
- A sponge. Holds grit against the clear coat by design.
- Washing in the sun. Soap dries on the panel, you go back over it, and dried soap is abrasive.
- Drying with cotton. Household towels are not smooth at the fiber level, and they push rather than absorb.
- Circular motion. The scratches follow the tool.
- Wheels last. Brake dust splashed onto clean paint, then wiped off with the drying towel.
- Automatic car washes with brushes. Those brushes touched a truck that was covered in sand an hour ago.
How long the whole thing takes
On a sedan, with everything laid out before you start: about 10 minutes on wheels and tires, 5 on the pre-rinse, 3 on the foam dwell, 15 on the two-bucket wash, 2 on the sheeting rinse and 10 drying. That is roughly 45 minutes. The two-bucket method itself adds no time at all over a one-bucket wash — it is the same strokes with one extra dunk between panels.
What to do after the wash
The wash is the moment when everything else is easiest. The car is clean, wet or freshly dried, and you are already outside with the tools out:
- Vacuum the interior while the outside dries. Grit tracked out of the cabin ends up back on the paint otherwise — the cordless car vacuum guide covers which one reaches under the seats.
- Check the tire pressures while the wheels are clean and you are already kneeling next to them. Pressures fall about 1 PSI for every 10 degrees Fahrenheit the temperature drops, so a seasonal check catches the slow ones — see the portable tire inflator guide, or the cordless versus 12V comparison if you have not bought one yet.
- Look at the headlights in daylight on a clean car. If the lenses are yellow, that is UV damage rather than dirt, and it is a 30-minute fix with a headlight restoration kit.
Do those three things twice a year and the car will be cleaner, safer at night and cheaper to run on tires, for about the price of one professional detail.